Archive | Quality Control RSS feed for this section

Sensors for Space Telescope Lens Testing

The Euclid Satellite project a good example of Philtec’s sensors being used with excellent results in cryogenic conditions. A technical paper published in 2012  shows Philtec’s high precision sensors were successfully used at 150°K to verify the distortion of lens holders to be <1 micron,  well within the project requirements.

This month Philtec has again delivered sensor systems for space telescope lens distortion measurements. These are 2-channel fiber optic displacement sensor systems designed for 3.2 mm operation in vacuum.
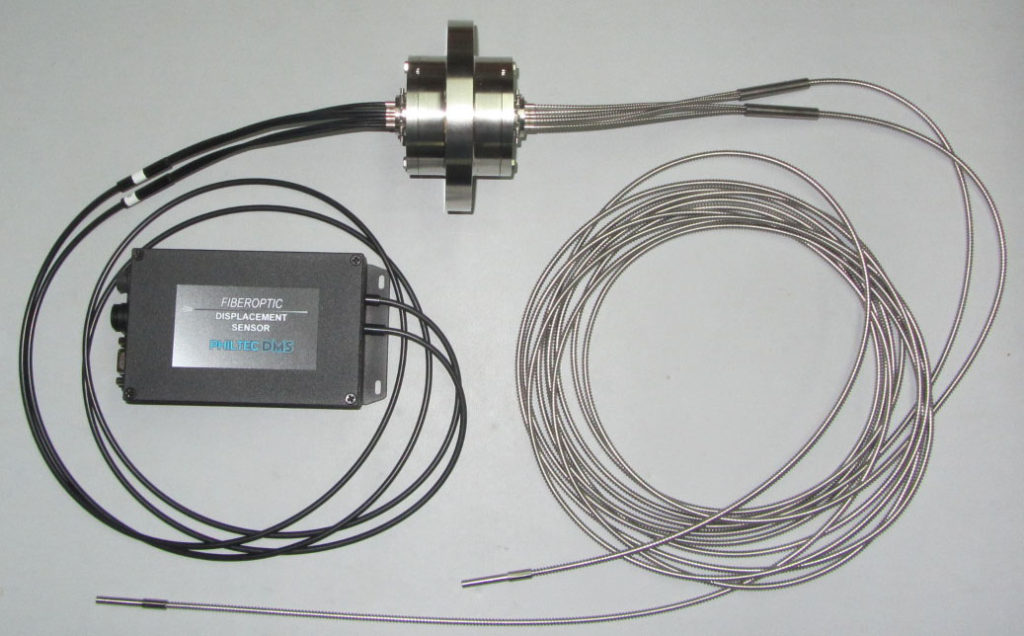
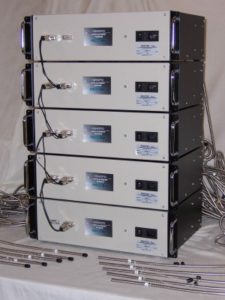
2-Channel Displacement Sensor with BvF120 Vacuum Passthru Assembly

Seven 2-channel sensor systems were delivered with the following options:

  • Multi-Channel Vacuum Passthru Assembly in 120 mm Custom Flange
  • SS Interlok Cable Jacket in Vacuum
  • 6m Total Fiberoptic Cable Length (1.5 in air, 4.5 in vacuum)
  • Low CTE Invar Tips

The fiber optic cables are trifurcated for connection to the vacuum passthru (one transmit bundle and two receivers). With 14 sensor channels x 3 legs each, 42 vacuum ports were required. Each BvF120 has 16 ports, and therefore three BvF120 assemblies were used to pass all channels.
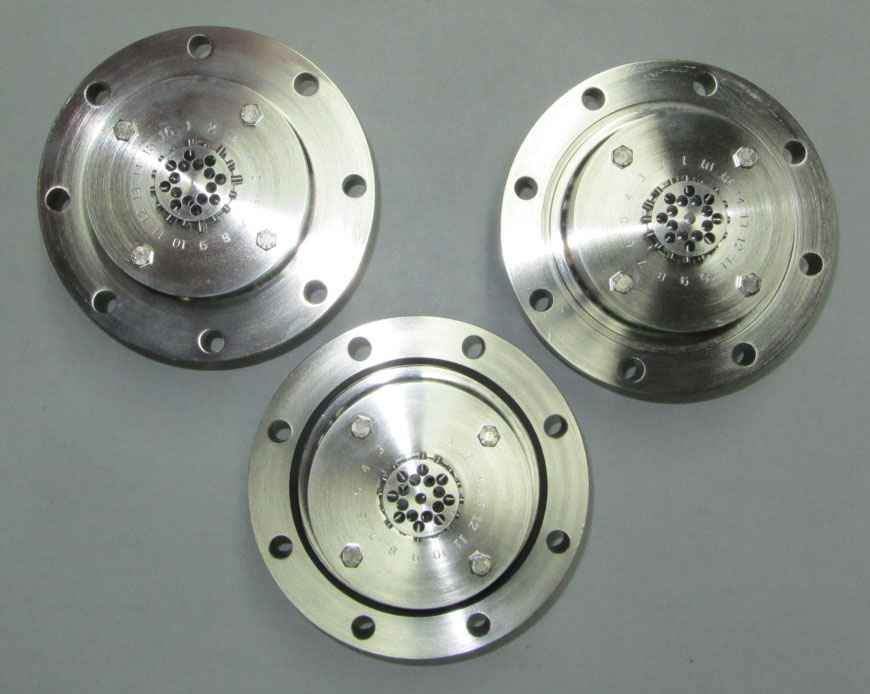
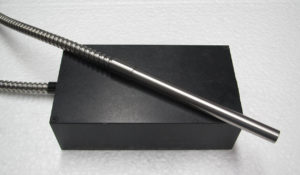
Multi-Channel Vacuum Passthru Assembly

REFERENCE

‘Test Results of High-Precision Large Cryogenic Lens Holders’, 2012, Proceedings of the SPIE Publication “Modern Technologies in Space- and Ground-based Telescopes and Instrumentation II”.

Continue Reading ·

Curved Glass Shape Turnkey Solution

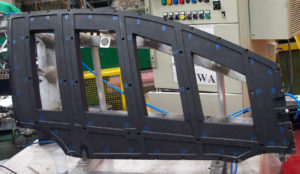
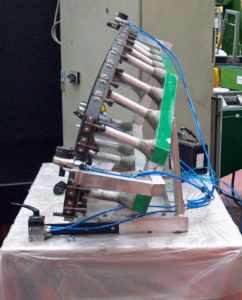
Philtec has partnered with the Italian company Technosens to provide the complete turnkey solution for automatic production lines. The method used is to compare a production piece glass shape to the shape of a master frame as shown here.

The production line glass is placed against the master frame, and Philtec’s non-contact sensors measure distance to the glass at 50 locations. With data from 50 sensors, the shape of the glass is accurately mapped. Philtec’s non-contact optical sensors provide a scratch-free solution that is ideal for thin glass, where contact gages such as LVDTs can move and distort the glass when applied via air pressure.

With Technosens equipment, each measured piece has a complete traceability and the production is real time monitored with advanced statistics on process, moulds, system analysis (SPC, MSA) to have the maximum reduction of discarded pieces.

Continue Reading ·

Glass Shape Gaging

The shape of curved glass windows in automated production lines is typically measured using LVDT contact sensors. When the glass is very thin and light, normal pressure of the LVDT probes tend to move the glass from the holding fixture and corrupt the measurement. Philtec’s non-contact FODS (Fiber Optic Displacement Sensors) solve the problem.

This month Philtec has delivered 100 sensors for a gaging station at a European automotive glass window manufacturing plant (50 for the driver side, and 50 for the passenger side). These sensors are very accurate, and prevent movement or scratches on the glass.


The model RC171 FODS is a reflectance compensated optical sensor with 15 mm operating range. It is insensitive to part-to-part reflectance variations as well as to ambient lighting interference. Data from a set of 50 probes is read in less than 1 second.

Read More: 
http://www.philtec.com/downloadssupport/documentlibrary/documents/applicationnotes/V9N1_ContouredGlassInspection.pdf
Continue Reading ·

Wireless Sensors for Turbine Blade Tip-to-Casing Cold Clearance Measurements

Gas and steam turbine manufacturers of fossil power plants have long used hand-held feeler gages to measure turbine blade tip clearances and inspect the roundness of the TBC linings at access ports provided for that purpose. With new construction and at overhaul, turbine blade tip-to-casing clearances at room temperature must be properly set.

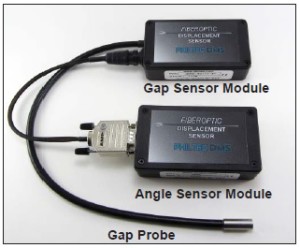
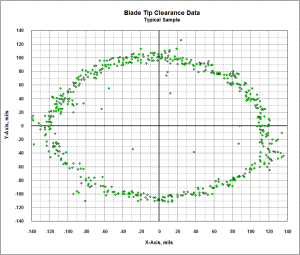
Philtec has developed the wireless non-contact sensor system CMS3400 to replace manual feeler gage methods. As a technician slowly jogs a rotor thru 360° of rotation, Gap and Angle data pairs are simultaneously recorded from 4 rows of blades and saved to a USB flash drive for offloading and data analysis. CMS3400 is a four channel wireless sensor system that digitally captures the full 360° picture of  blade tip-to-casing roundness and clearance data. This product represents a major advancement in the state-of-the-art.

Sensor ModulesTip Clearance Data

MORE INFO AT  Wireless Sensors for Blade Tip Clearance

Continue Reading ·

Probes for Internal Thread Inspection

The Problem: Inspection of the integrity of small internal threads such as M10.

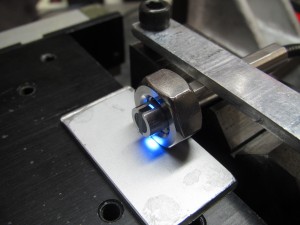
The Solution: Very small fiberoptic probes can be made having two diametrically opposed sensors.Thread Inspection Probe

The probe can be used to  scan the length of internally threaded holes as the probe is inserted. The probe is rotated 90° at the bottom of the hole and the thread is scanned once more as the probe is retracted, thereby providing complete thread inspection every 90°. Plus and minus accept/reject tolerances can be set by comparing known good part voltages with known defective part voltages. Missing, shallow and/or damaged threads can be detected as they fall outside the accept/reject tolerance.

Advantages of Fiberoptic Probes

  • Non-Contact
  • High Speed
  • For All Materials Including Non-metals
  • Catches Missing, Shallow, Damaged Threads

Read more…

Continue Reading ·